How to Design and 3D print your own glass: 3D Printed Glasses
Breaking your glasses is the most common mistake that you could make. But, what after you have broken them? Are you still going to buy one online or offline from your fixed store? Instead, we show a totally different alternative that is, manufacturing all new glasses at your home, using 3D printing technology. Doing this requires moderate 3D modelling skills, but the complete process can be applied with any 3D printing software and is very simple. So, let’s get started.
Step 1: Import and clean the 3D file
This step applies to you when you are not working with an already made 3D file. Though it’s always good to have the knowledge of it. The step definitely applies to you when you are working on a scanned file of the glass. After rotating it to the right orientation, you can trim off the excess mesh that surrounds your lens using your drawing skills and making a close curve or using a mesh split. The next thing to do is scaling your lens to the right dimensions. For this, you can measure your lens using callipers or look inside your glass. Glasses are symmetrical, hence you need to design only half of them!
Step 2: Connect the Lens Curvature
For ensuring your frame has a consistent curvature around your face, you can always begin by starting to orient the lens. Then, continuing with drawing a curve, followed by tracing the top surface which extends even where the lens ends and is tangential to your centreline. Doing so does the major part of the work involved to be done in this step. After which you only need to match the hard edge of the scan closely. Always note that when you are drawing your curves, the lesser number of points you make, the cleaner your 3D model will look.
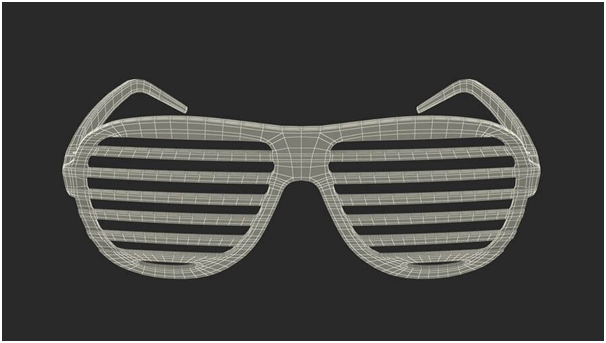
Step 3: Frame Shape Designing
If you think designing is the boring part of 3D printing anything, performing this step, you would want to rethink. It’s fun to draw the outline of your glasses’ frame using two curves. It is recommended that you offset your lens curve by some millimeters, mostly two. This would make you use the same as a guide for the shape and allow you to keep a consistent thickness. After offsetting your lens, offset your curves in a similar range for getting proper thickness. Making a swept surface from each of these curves, project your lens onto them, and split the top and bottom surfaces with projected curves. Discard both the middle surfaces.
Step 4: Lens Fit
Performing this step will depend on the shape of your lens. In case you are replacing only the frames of your glasses, the best recommendation for you is to match any groove very closely. Whereas if you have a downloaded 3D design file for making lenses, search for the documentation regarding the same. If your lenses are V in shape, you need to draw a similar shape on your projected lens curve and use a two-rail sweep for creating the groove in the frame.
Step 5: Frame Surface
After having done the lens fit, you need to draw curves in the middle of your split frame surfaces. Additionally, use two rail sweeps for filling the outer surface. Repeat the same procedure for space in the middle of your lens groove and outer surfaces. Once this is done, start drawing two curves across the bottom centre of your frames and utilize them for differentiating the curves from the surfaces that are in the inside part of your frames. While doing this, do remember to drag the control points on the split curves for shaping the bridge, and then finally patch those surfaces.
Step 6: Arms Shaping
It’s time now to use the two curves for shaping arms. For doing so, ensure that the curves start tangentially to the frame’s surface. Start to offset these curves and attach them to the opposite surface of the frame. Use the control points for ensuring that these curves are also tangential to the surface. Frame edges can be utilized as profile curves for two rail sweeps for building the surfaces of the arms. Joining the surfaces with the fillet edges will give your Arms the desired shape.
Step 7: Hinges Modeling
Simple extrusion and boolean union can be used for doing the hinges modelling. The measurement of the circle for the screw can depend upon the printer you are using! It is recommended to draw a curve across the arm, in the space that is present in the middle of the hinge, before using the boolean union. Utilize this curve for differentiating your arm from the frame. And then, boolean union appropriate hinge pieces to the frame and the arm. Mirror your half-frame and arm for making the whole and get print-ready.
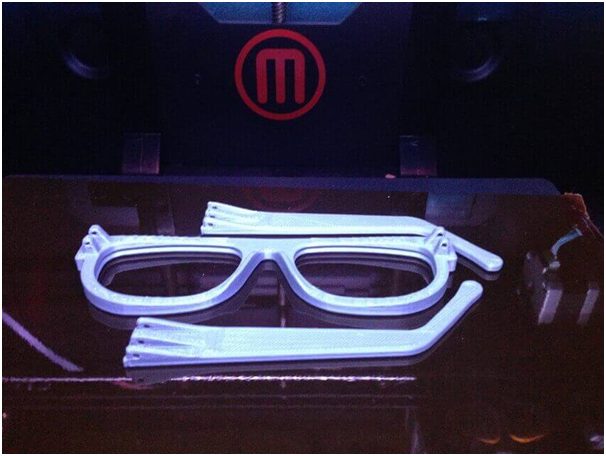
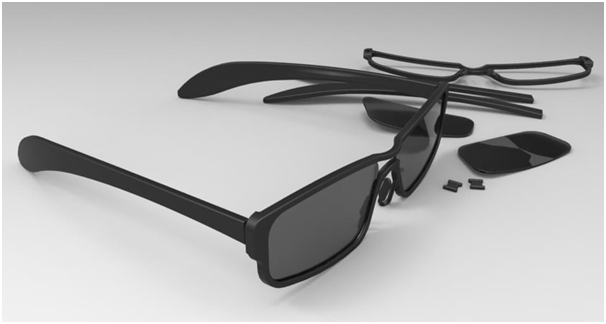
Step 8: Finishing and Assembling
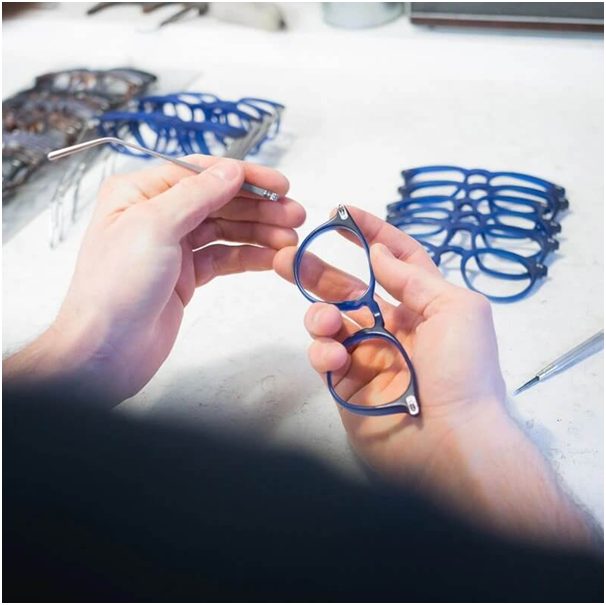
The finishing process that you should use, depends on the printer that you are using and the finish it provides. After getting your hands on your print, you can know whether you need to sand it smooth, polish it or coat it! After you are done doing so, you can press the lens inside it and slowly screw your arms. That’s it! Your glasses are wear-ready. Just to let you know, Pick3DPrinter has a list of the best cheap 3D printers Under $500 – in case you’re looking for one.
The Conclusion
With the increase in the amount of work that an average individual does on a computer, glasses are almost becoming mandatory to wear. It’s not necessary only if you have one of the two myopia in your eye to wear glasses. You can even 3D print yourself zero number glasses and wear them on while at work, to save your eyes from directly interacting with the waves emitted by the device in front of you. Designing your own glasses gives you the freedom to customize them according to your taste. You can include the design you wish to, the surface finish can be of your choice, the shape of your frame and arms, and everything can be according to your taste.