Saponizacao, Saponization or Saponification: The Science Behind Soap Making
Have you ever wondered how soap is made? The process might seem like magic, but it’s actually rooted in a fascinating chemical reaction known as Saponizacao, saponization or saponification. Whether you’re someone interested in DIY soap making, or just curious about the chemistry behind everyday products, this blog post will give you an in-depth understanding of the saponization process and how it turns oils and fats into soap.
In this guide, we’ll break down the science of saponification, walk you through how soap is made, and even explore its real-world applications in both household products and industrial settings. Let’s dive in!
What is Saponization or Saponification?
Saponizacao, also called saponification, is the chemical reaction that occurs when a fat or oil reacts with an alkali (such as sodium hydroxide or potassium hydroxide) to produce glycerol (glycerin) and soap. This process is the key to soap making, whether it’s used in large industrial settings or for small-scale DIY soap makers.
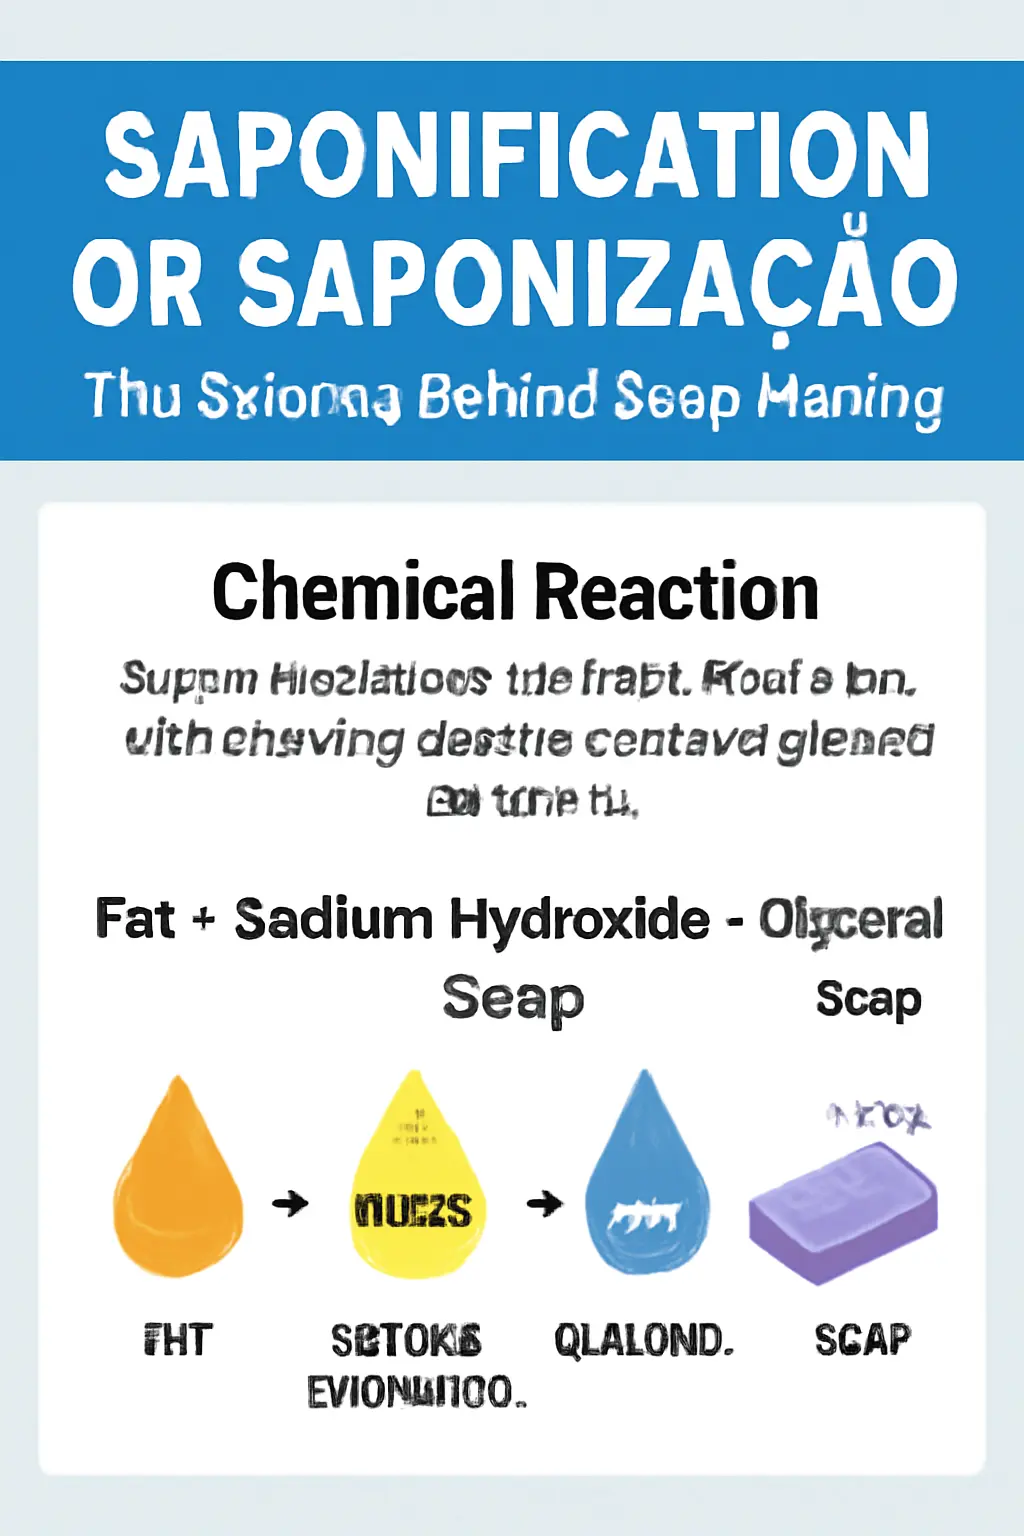
The Chemical Reaction
At its core, saponification is a hydrolysis reaction—meaning that it involves the breaking of bonds in the presence of water. Specifically, when an alkali like sodium hydroxide (NaOH) reacts with a triglyceride (a fat or oil composed of fatty acids and glycerol), it produces fatty acid salts, which is soap. The chemical equation for saponification looks like this:
Fat + Sodium Hydroxide → Glycerol (Glycerin) + Soap (Fatty Acid Salt)
This chemical breakdown results in the transformation of oils into a substance we use daily for cleaning, personal care, and more.
How Does the Saponification Process Work?
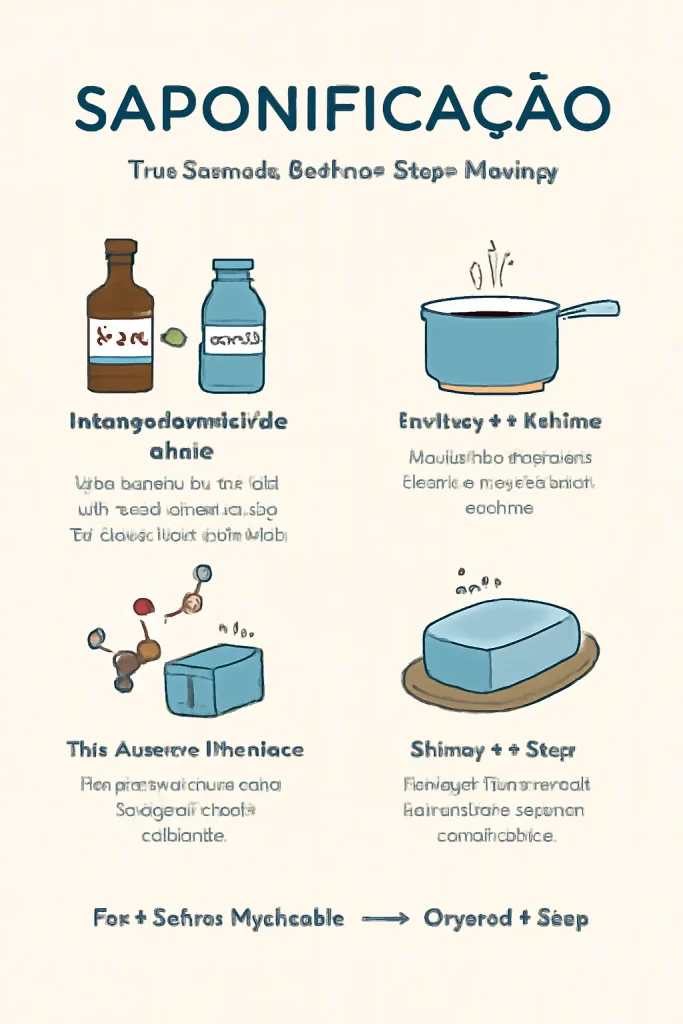
1. Mixing Fats/Oils with an Alkali
The saponification process begins when you mix oils or fats with a strong alkali like lye (sodium hydroxide or potassium hydroxide). Common oils used include olive oil, coconut oil, and palm oil, while the alkali dissolves in water to form a lye solution.
2. Heating the Mixture
To kick-start the reaction, the mixture is usually heated. This helps break the bonds in the triglycerides (the fats or oils), freeing up the fatty acids and allowing them to react with the alkali.
3. The Chemical Reaction
As the fat and alkali react, they break down into soap molecules (salts of fatty acids) and glycerin. Glycerin, a byproduct of saponification, often remains in the soap, making it more moisturizing and gentle on the skin.
4. Curing the Soap
After the reaction completes, the mixture is poured into molds, where it solidifies into soap bars. This soap then undergoes a curing process, which can take from several weeks to months. The curing process helps the soap harden, allowing it to be more effective for use.
Key Ingredients in Saponification
Fats and Oils
The fats or oils used in saponification provide the backbone for the soap. The type of fat used can affect the soap’s properties, such as how hard or soft it is, how much lather it produces, and its moisturizing qualities.
- Olive oil produces mild and moisturizing soap, ideal for sensitive skin.
- Coconut oil creates soap that lathers well but can be drying, so it’s often combined with other oils.
- Palm oil is often used for its hardness and long-lasting properties.
Alkali (Lye)
The alkali used in the saponification process is a key ingredient, as it reacts with the fat to create soap. Sodium hydroxide (NaOH) is commonly used for solid soap bars, while potassium hydroxide (KOH) is used for liquid soaps.
It’s important to note that when making soap with lye, the amount used needs to be precise. If too little lye is used, the soap will be oily and not solidify properly; too much lye can result in a harsh, caustic soap.
Water
Water is used to dissolve the lye, enabling it to interact with the fats or oils. In most soap-making recipes, water is combined with the alkali first, and then the oil is slowly added to initiate the reaction.
Real-World Applications of Saponification
Handmade Soap
DIY soap making is a popular hobby for those looking to create custom skincare products. By understanding the process of saponization, you can mix and match different oils and scents to create unique soap bars. Many people enjoy crafting soaps with essential oils, natural colors, and even exfoliating agents like oatmeal or dried flowers.
Industrial Soap Making
Saponification also plays a huge role in commercial soap production. In large-scale soap manufacturing, the same basic process is used, but on a much larger scale. Here, fats and oils are processed in giant reactors, and the resulting soap is often scented, colored, and packaged for consumer use.
Detergents and Cleaning Products
Saponification isn’t limited to soap bars—detergents and other cleaning products also rely on this reaction. When combined with other chemicals, soaps created from saponification can become powerful cleaning agents that remove dirt, oil, and grime.
Comparing Saponification with Other Soap-Making Methods
While saponification is the most common and traditional method of making soap, there are other techniques, such as:
Melt and Pour Soap
This is a simpler, faster method where pre-made soap base is melted and then poured into molds. It doesn’t involve saponification, as the soap is already made. This method is perfect for beginners or those who want to add colorants, fragrances, or other additives without worrying about chemical reactions.
Cold Process Soap Making
Cold process soap making is very similar to saponification but done at room temperature. This method allows for more control over the final product and produces a rich, moisturizing soap with a longer curing time. It’s a more natural approach that’s popular in handmade soap communities.
FAQs
1. What is the difference between Saponizacao and soap-making?
Saponification is the chemical reaction that occurs when fat or oil reacts with an alkali to create soap. Soap-making is the overall process, which includes saponification, but also involves mixing, pouring, and curing the soap.
2. Can I make soap without using lye?
While it’s impossible to make soap without lye, the lye is fully reacted and neutralized by the end of the process, so the final product doesn’t contain any lye. The soap is completely safe to use once it’s cured.
3. Can I use different oils for soap-making?
Yes! The type of oil you use can change the properties of the soap. Olive oil, coconut oil, palm oil, and other fats each produce soaps with different characteristics, such as hardness, lather, and moisturizing qualities.
4. Why is saponification important in soap-making?
Saponification is essential because it’s the chemical reaction that turns oils and fats into soap. Without saponification, you wouldn’t be able to make soap, which is why understanding the process is vital for successful soap-making.
5. How long does it take for soap to cure?
Soap typically takes about 4-6 weeks to fully cure, during which time the excess water evaporates, and the soap becomes harder and milder on the skin.
Conclusion
Understanding saponification or saponização is crucial whether you’re making soap as a hobby or in a commercial setting. It’s the process that turns oils and fats into soap and provides the foundation for the cleansing products we use every day. Whether you’re looking to create your own DIY soap or simply want to understand the science behind it, saponification is the key to unlocking a world of possibilities.
Final Tip: If you’re just getting started in soap-making, experiment with different oils and scents to create a personalized soap recipe that fits your skin type and preferences. Happy soap-making!